
Quick Start Guide

Determine Goals
STEP 1
There are many reasons for gardening with natives and many different approaches you can take. Take some time to think about your desired outcome for your garden.
To create a garden that mimics our unique wild spaces?
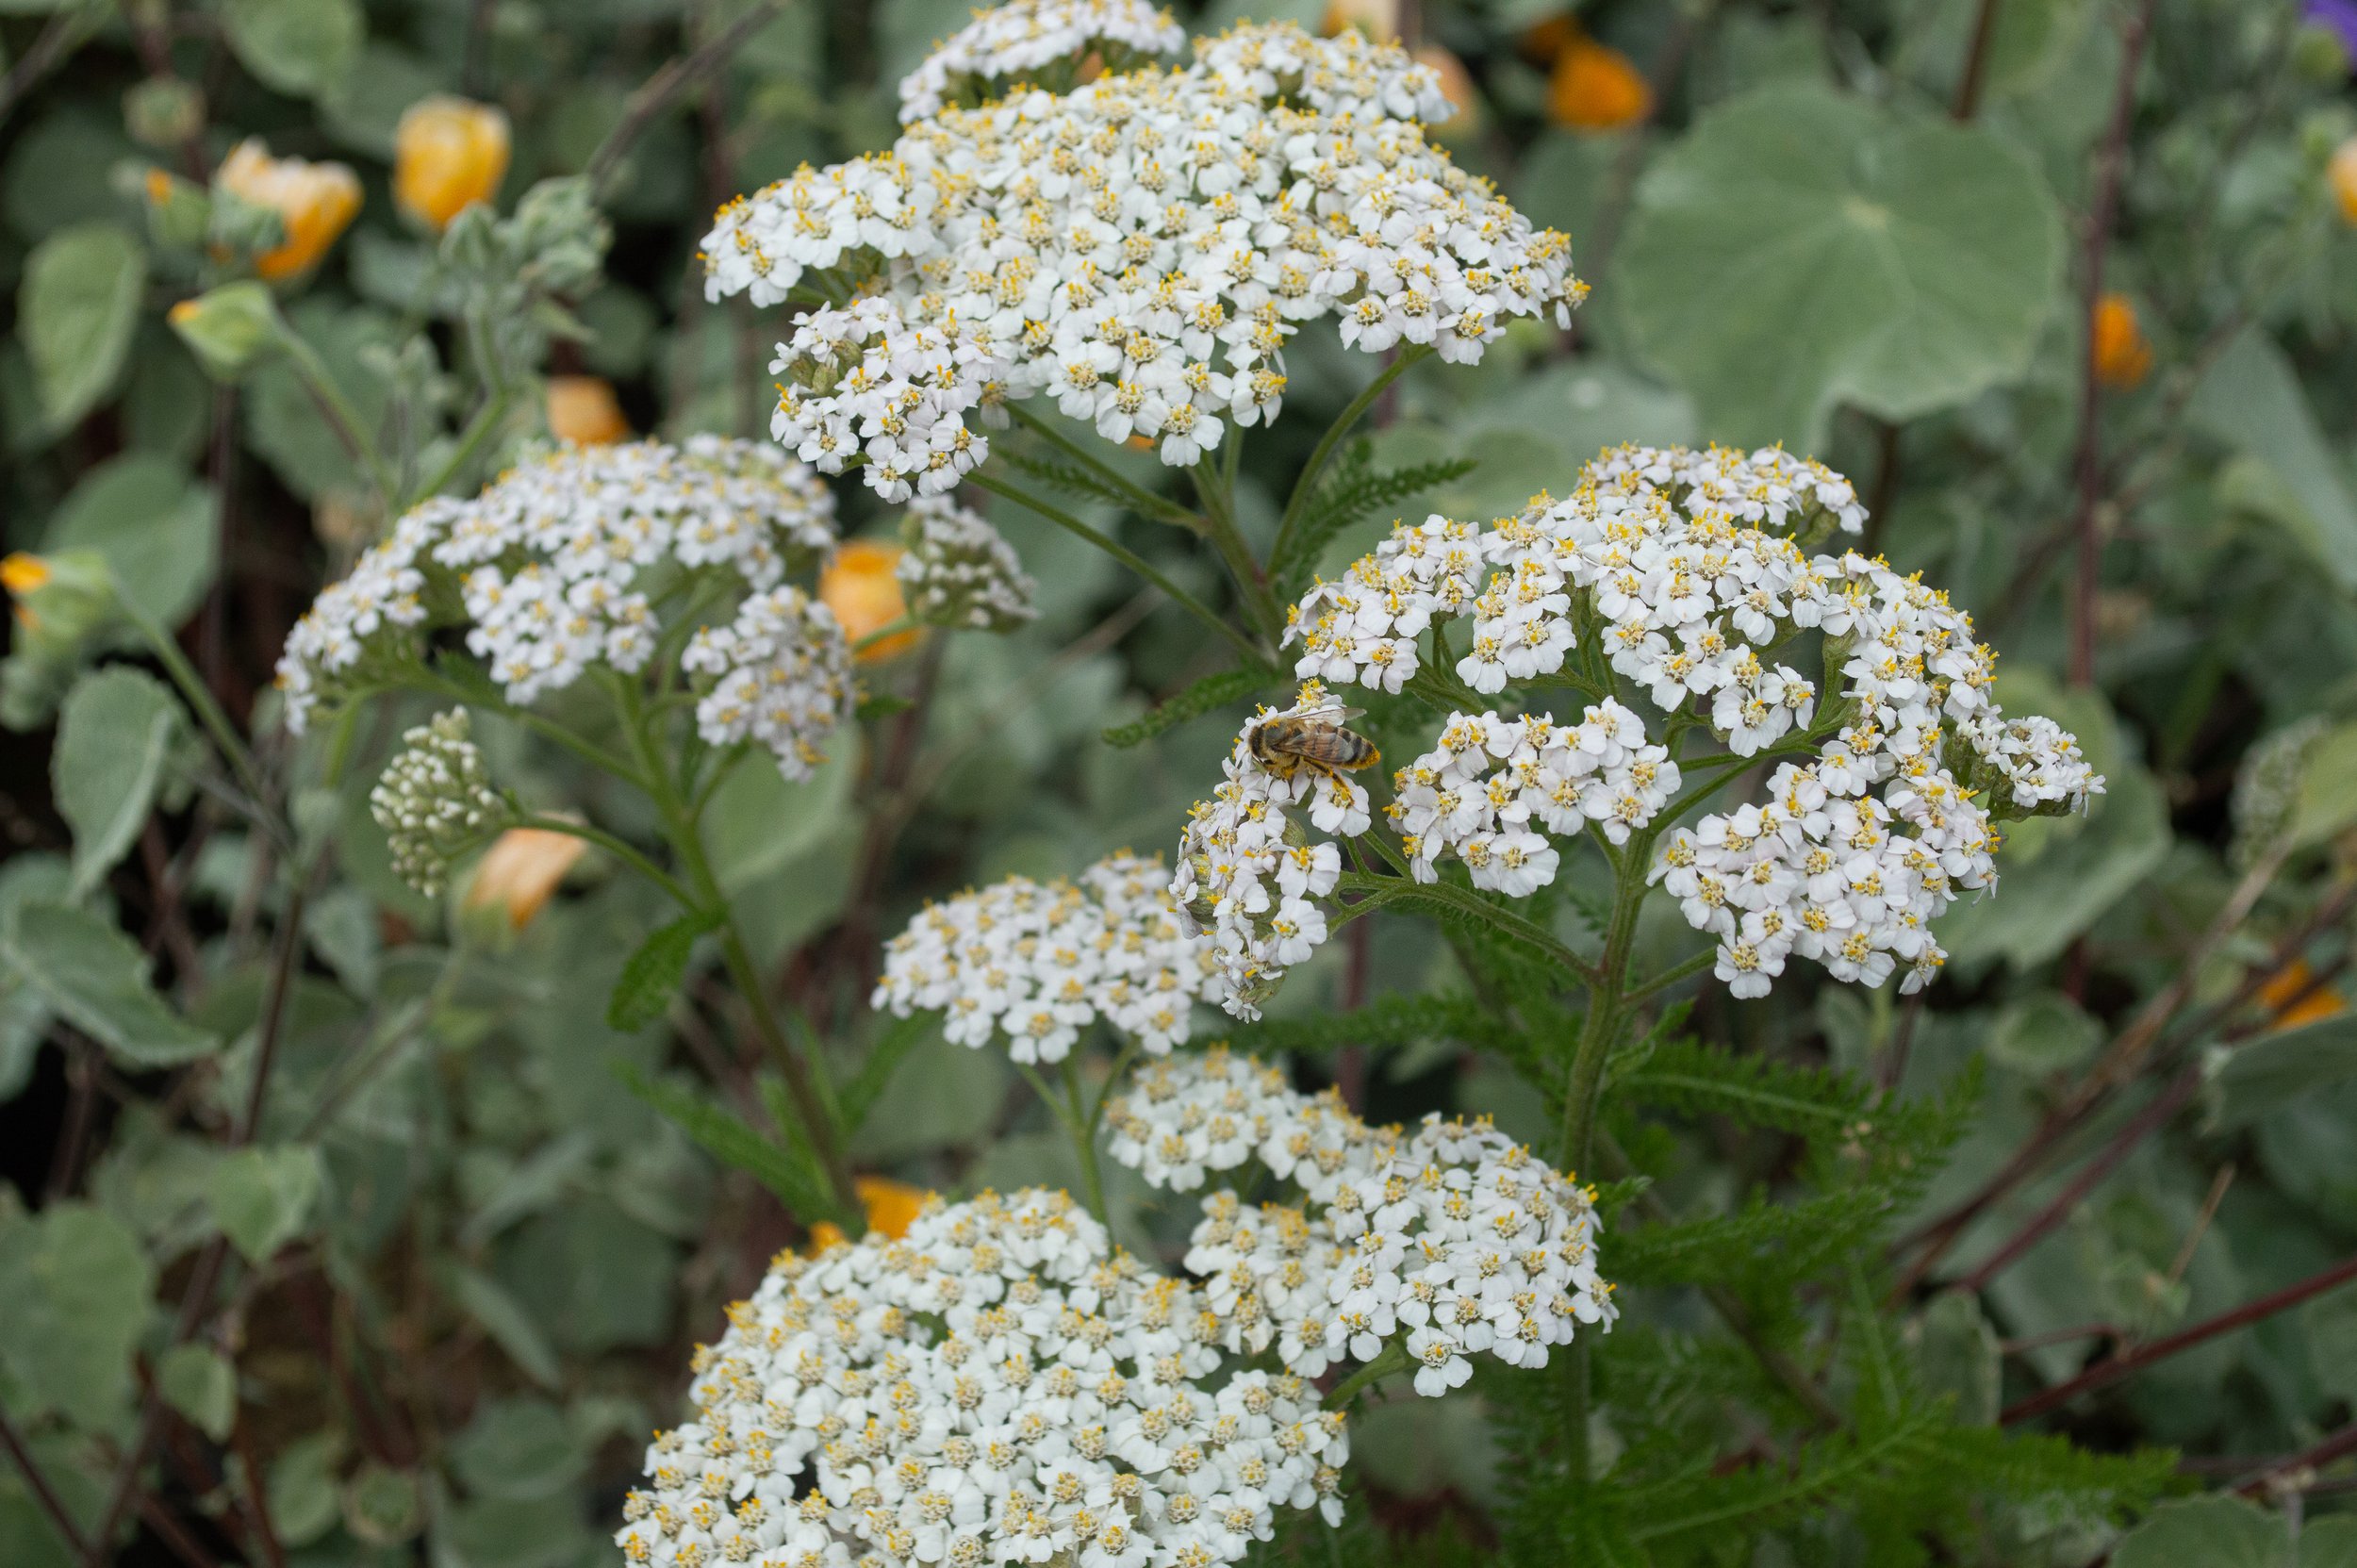
To attract pollinators to your garden?
To save water?
To have a low maintenance garden?
To help restore habitat that has been lost due to development?
To focus on aesthetics such as color, texture, and structure?
To grow culturally significant natives, such as edible and medicinal species?
Determine Sunlight
STEP 2
You can create a sun map or just observe your site several different times throughout the day.
Full sun (6+ hours of direct sunlight)
Partial sun/shade (3-6 hours of direct sunlight)
Full shade (less than 3 hours of direct sunlight)
Remember that the angle of the sun changes with the seasons so areas that are sunny in the summer might be shaded in the winter.
Determine Drainage
STEP 3
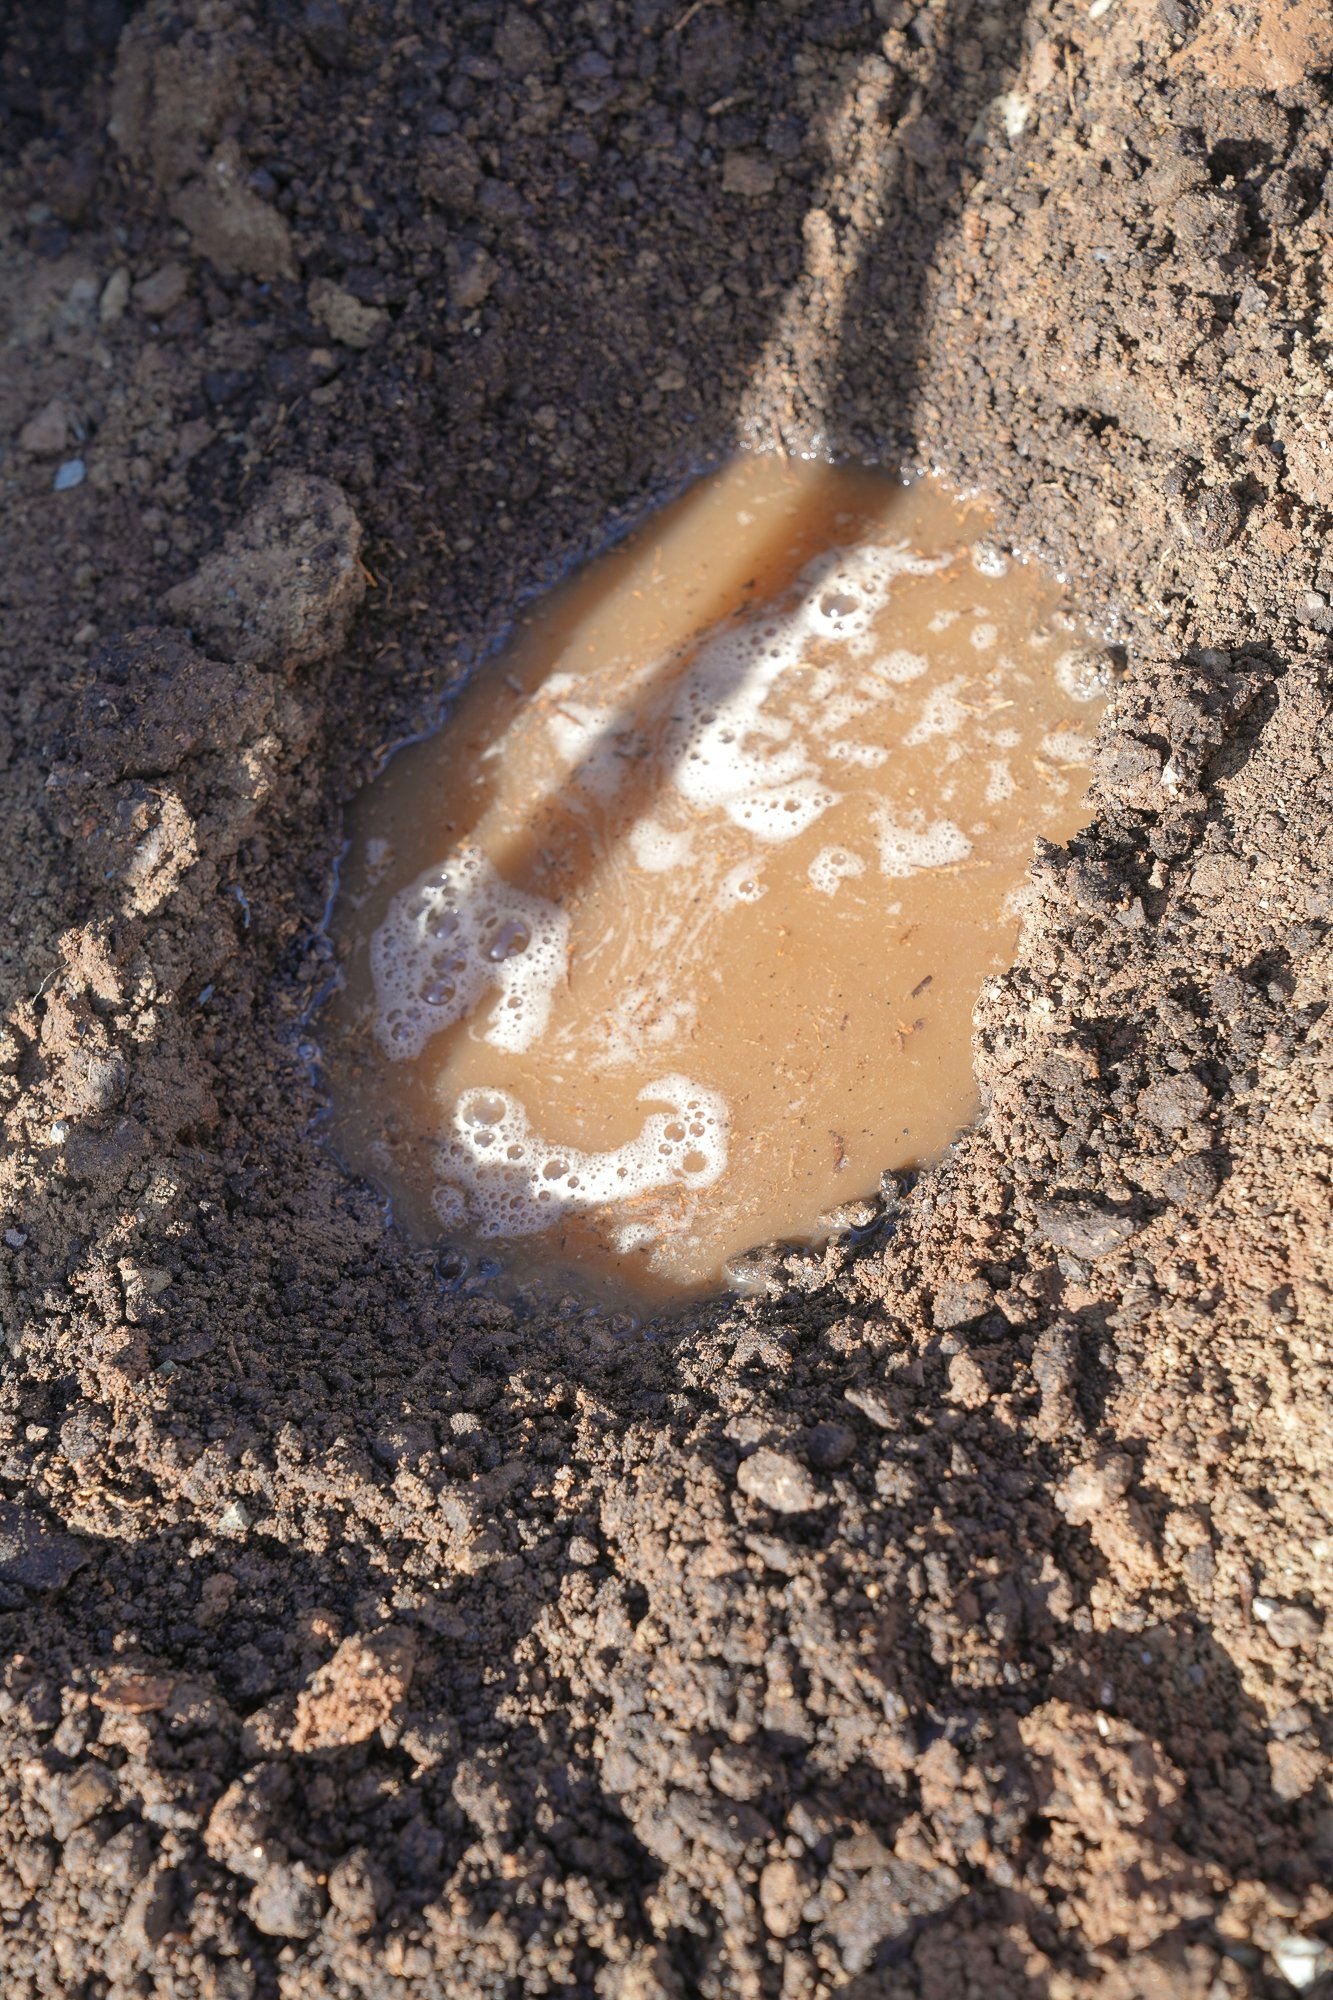
Dig a Hole: Select a representative spot in your garden and dig a hole about 12 inches deep and 12 inches wide.
Fill with Water: Initially, fill the hole with water and allow it to drain completely. This step helps saturate the surrounding soil and gives a more accurate reading in the actual test.
Refill and Time the Drainage: After the first batch of water has drained, fill the hole with water again. This time, measure how long it takes for the water to drain completely.
Interpret the Results:
Fast Draining (Less than 15 minutes): This usually indicates sandy soil. Sandy soil has larger particles, allowing water to drain quickly.
Moderate Draining (15 minutes to 1 hour): This suggests loamy soil, which has a more balanced mixture of sand, silt, and clay.
Slow Draining (More than 1 hour): This typically means clay soil. Clay has very fine particles that hold water, causing slower drainage.

Plant Selection
STEP 4
Group plants together according to their sun, water, and drainage requirements.
For example, species that prefer fast draining soil and full sun could be planted together on the top of a south facing slope. While moisture loving plants could be planted closer to a water source or bioswale that collects rainwater.
Start with Foundation Plants
The key to year round beauty is a foundation of evergreen plants, ensuring that your garden retains visual interest even when other plants are not in bloom or have lost their foliage.
Fill in the Gaps
Once you have your foundation of evergreens, you can fill in the gaps with other species such as wildflowers, deciduous perennials, etc.
Summer Dry
Keep in mind that some species will not tolerate any summer watering such ceanothus and manzanita. Group these species together or plant them in an area where you can keep them separate from plants that will be watered during the summer.
You can use the filter function in our plant database to sort plants by sun requirements, drainage requirements, evergreen, and other criteria.
Once you have your plant list you can check our wholesale availability or retail availability.
STEP 5

Plant
If the ground is dry, deeply watering the site a day or two prior to planting can make digging much easier (especially if you need to a dig a hole for a 5 gallon plant)
Dig a hole about twice as wide as the container but no deeper
Fill planting hole with water and allow to fully drain into the subsoil
Once drained, place the plant in the hole ensuring that 10% of the root ball will be above ground level. This ensures good drainage.
Backfill the hole while adding water and settling soil around the root ball.
Create a water retention berm around the plant ensuring that the crown of the plant is still above water level.
Add a 2-4” layer of mulch around all plants, leaving only the area immediately around the base of the plant uncovered.
Give your newly planted plant a long, deep soak of water! You’ll want the moisture to reach around 18 inches deep into the soil so don’t be scarce with this first watering.
A note on soil amendments: For most cases, no soil amendment is required for the plant to thrive! In rare cases when it is required, use 1/3 amendment to 2/3 native soil. Make sure it is not touching the root ball directly.
We have shredded redwood bark, the ideal mulch for native plants, available for pickup or delivery. You can calculate how much you’ll need and learn more here.
STEP 6

Water
During Establishment
Although many native species have low water requirements, young native plants still require regular watering during their establishment period. Since they are still developing their roots, plan on providing deep infrequent soaks (unless receiving sufficient rain) to encourage the development of deep root systems. Allow the soil to dry out between watering.
After Establishment
Many native plants can thrive on just rainfall once established, but for a lusher appearance and longer blooms, some supplemental watering is beneficial, especially during the dry summer periods.
Irrigation Method
Spray is the preferred irrigation method because it delivers the water in a similar way to rainfall. If drip is required, ensure that the emitter is not located directly at the base of the plant.
Have questions about how often you should be watering? Read our full watering guide.