
Planting Guide
STEP 1

Prepare the site
If the ground is dry, deeply watering the site a day or two prior to planting can make digging much easier (especially if you need to a dig a hole for a 5 gallon plant)
Remove any weeds
Space the plants accordingly, giving plants enough space to reach their mature size
Note: Most native plants do best when planted in the fall-spring, although some are better suited to summer planting than others.
Dig the hole and fill with water
STEP 2
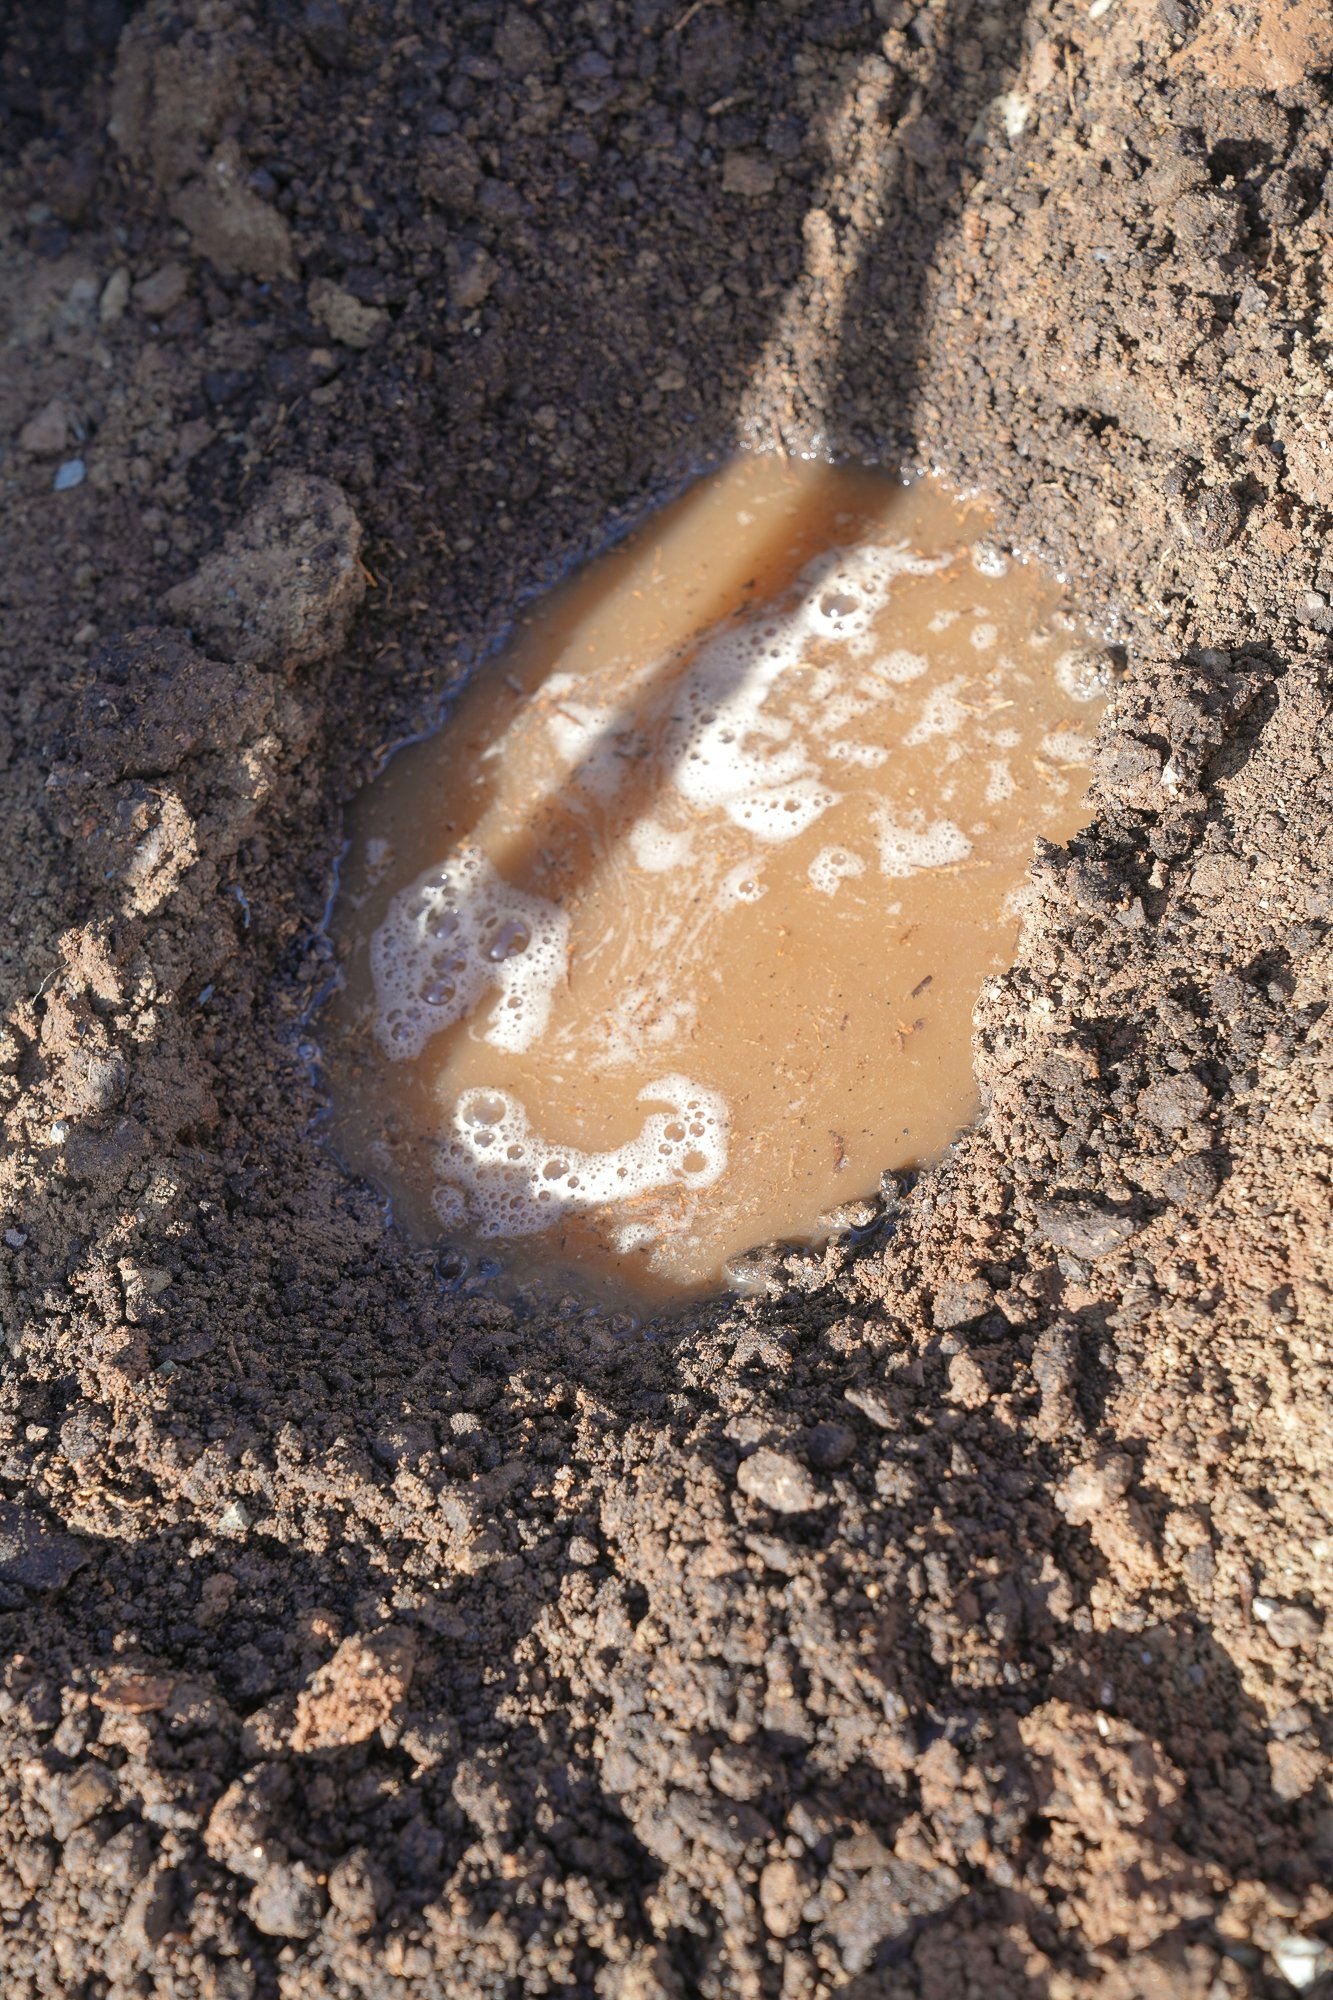
Dig a hole about twice as wide as the container but no deeper
Fill planting hole with water and allow to fully drain into the subsoil
A note on soil amendments: For most cases, no soil amendment is required for the plant to thrive! In rare cases when it is required, use 1/3 amendment to 2/3 native soil. Make sure it is not touching the root ball directly.
STEP 3

Plant
Place the plant in the hole, ensuring that 10% of the root ball will be above ground level. This ensures good drainage.
Backfill the hole while adding water and settling soil around the root ball.
Create a water retention berm around the plant ensuring that the crown of the plant is still above water level.
STEP 4

Water
Give your newly planted plant a long, deep soak of water! You’ll want the moisture to reach around 18 inches deep into the soil so don’t be scarce with this first watering.
During Establishment
Although many native species have low water requirements, young native plants still require regular watering during their establishment period. Since they are still developing their roots, plan on providing deep infrequent soaks (unless receiving sufficient rain) to encourage the development of deep root systems. Allow the soil to dry out between watering.
After Establishment
Many native plants can thrive on just rainfall once established, but for a lusher appearance and longer blooms, some supplemental watering is beneficial, especially during the dry summer periods.
Irrigation Method
Spray is the preferred irrigation method because it delivers the water in a similar way to rainfall. If drip is required, ensure that the emitter is not located directly at the base of the plant.
Have questions about how often you should be watering? Read our full watering guide.

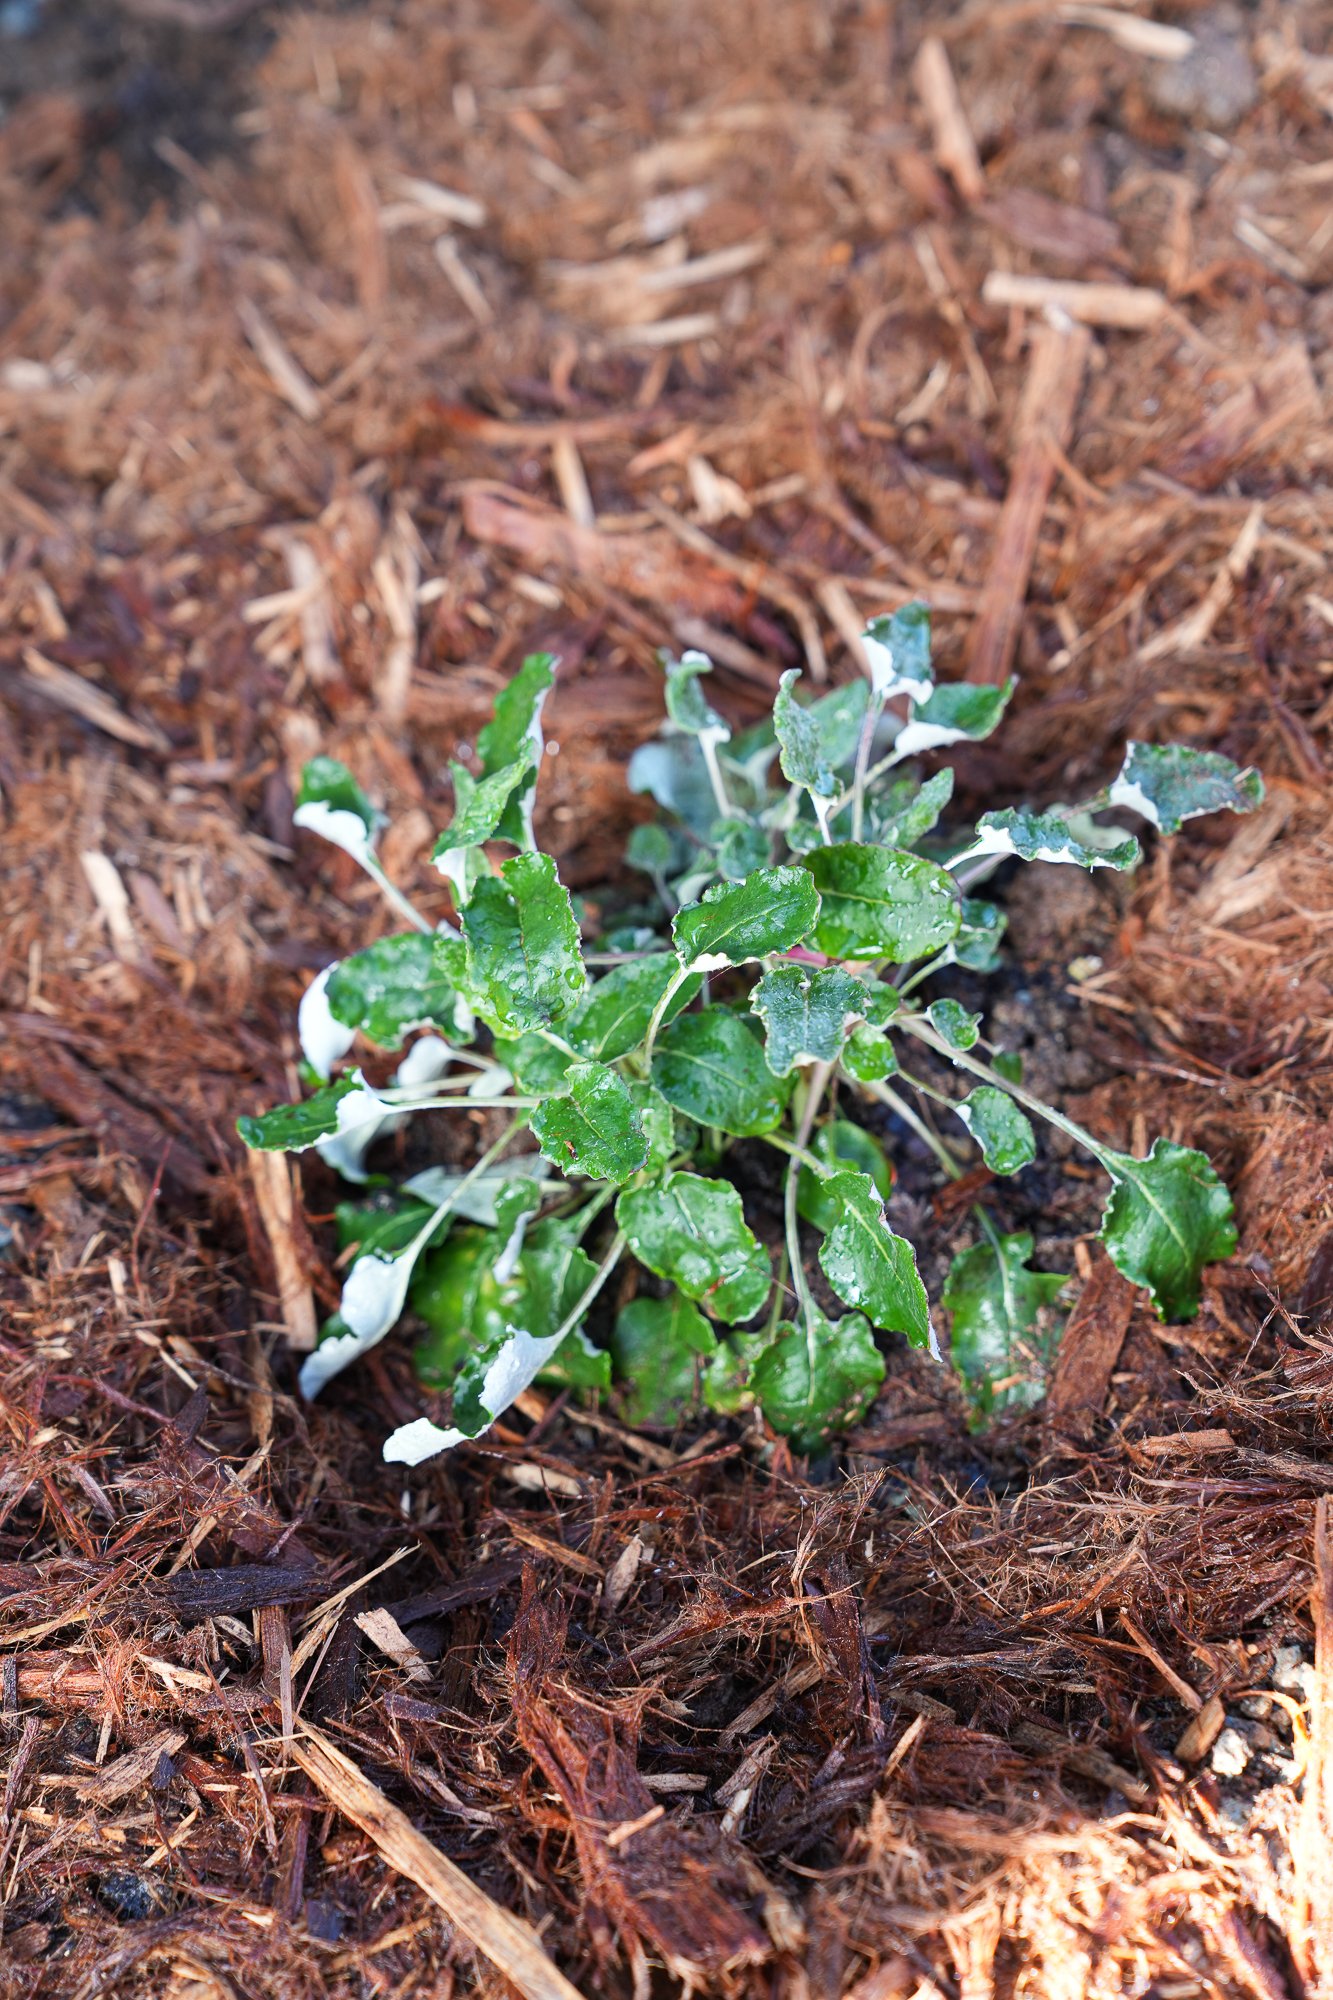
Mulch
STEP 5
Add a 2-4” layer of mulch around all plants, leaving only the area immediately around the base of the plant uncovered.
This helps mimics the natural duff layer found in nature from fallen leaves, bark, etc. Mulch helps retain moisture, keeps the soil (and roots) cool, build up beneficial mycorrhizae, suppress weeds, and prevent erosion.
We have shredded redwood bark, the ideal mulch for native plants, available for pickup or delivery. You can calculate how much you’ll need and learn more here.