Planning + Plant Selection
PHASE 1
Goals and Inspiration
Determine Goals
STEP 1
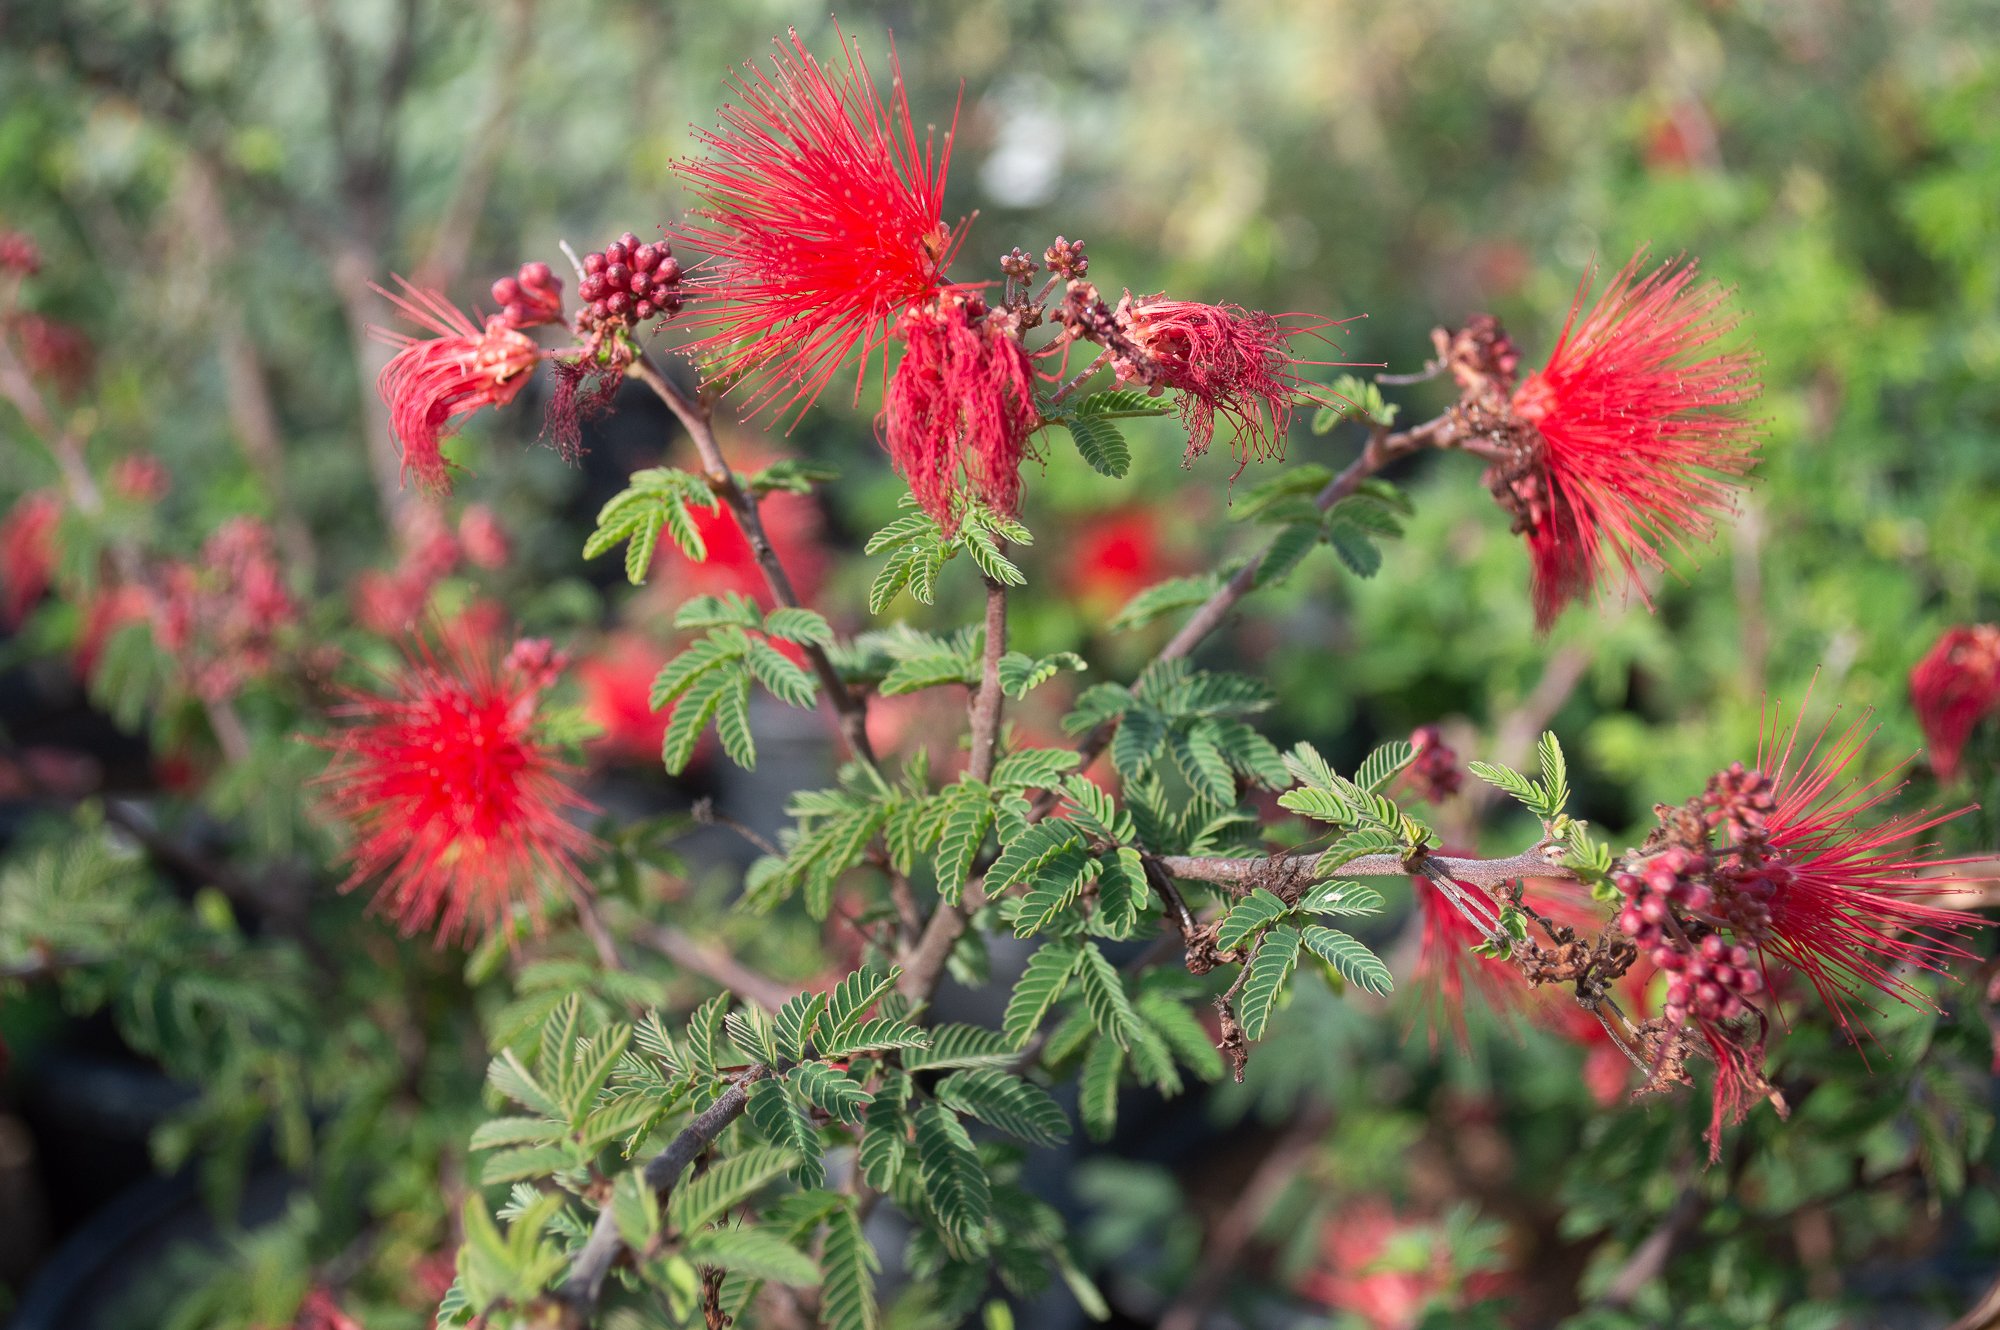
Photo Credit: Cameron YacklyThere are many reasons for gardening with natives and many different approaches you can take. Take some time to think about your desired outcome for your garden.
To create a garden that mimics our unique wild spaces?
To attract pollinators to your garden?
To save water?
To have a low maintenance garden?
To help restore habitat that has been lost due to development?
To focus on aesthetics such as color, texture, and structure?
To grow culturally significant natives, such as edible and medicinal species?
Get Inspired
STEP 2
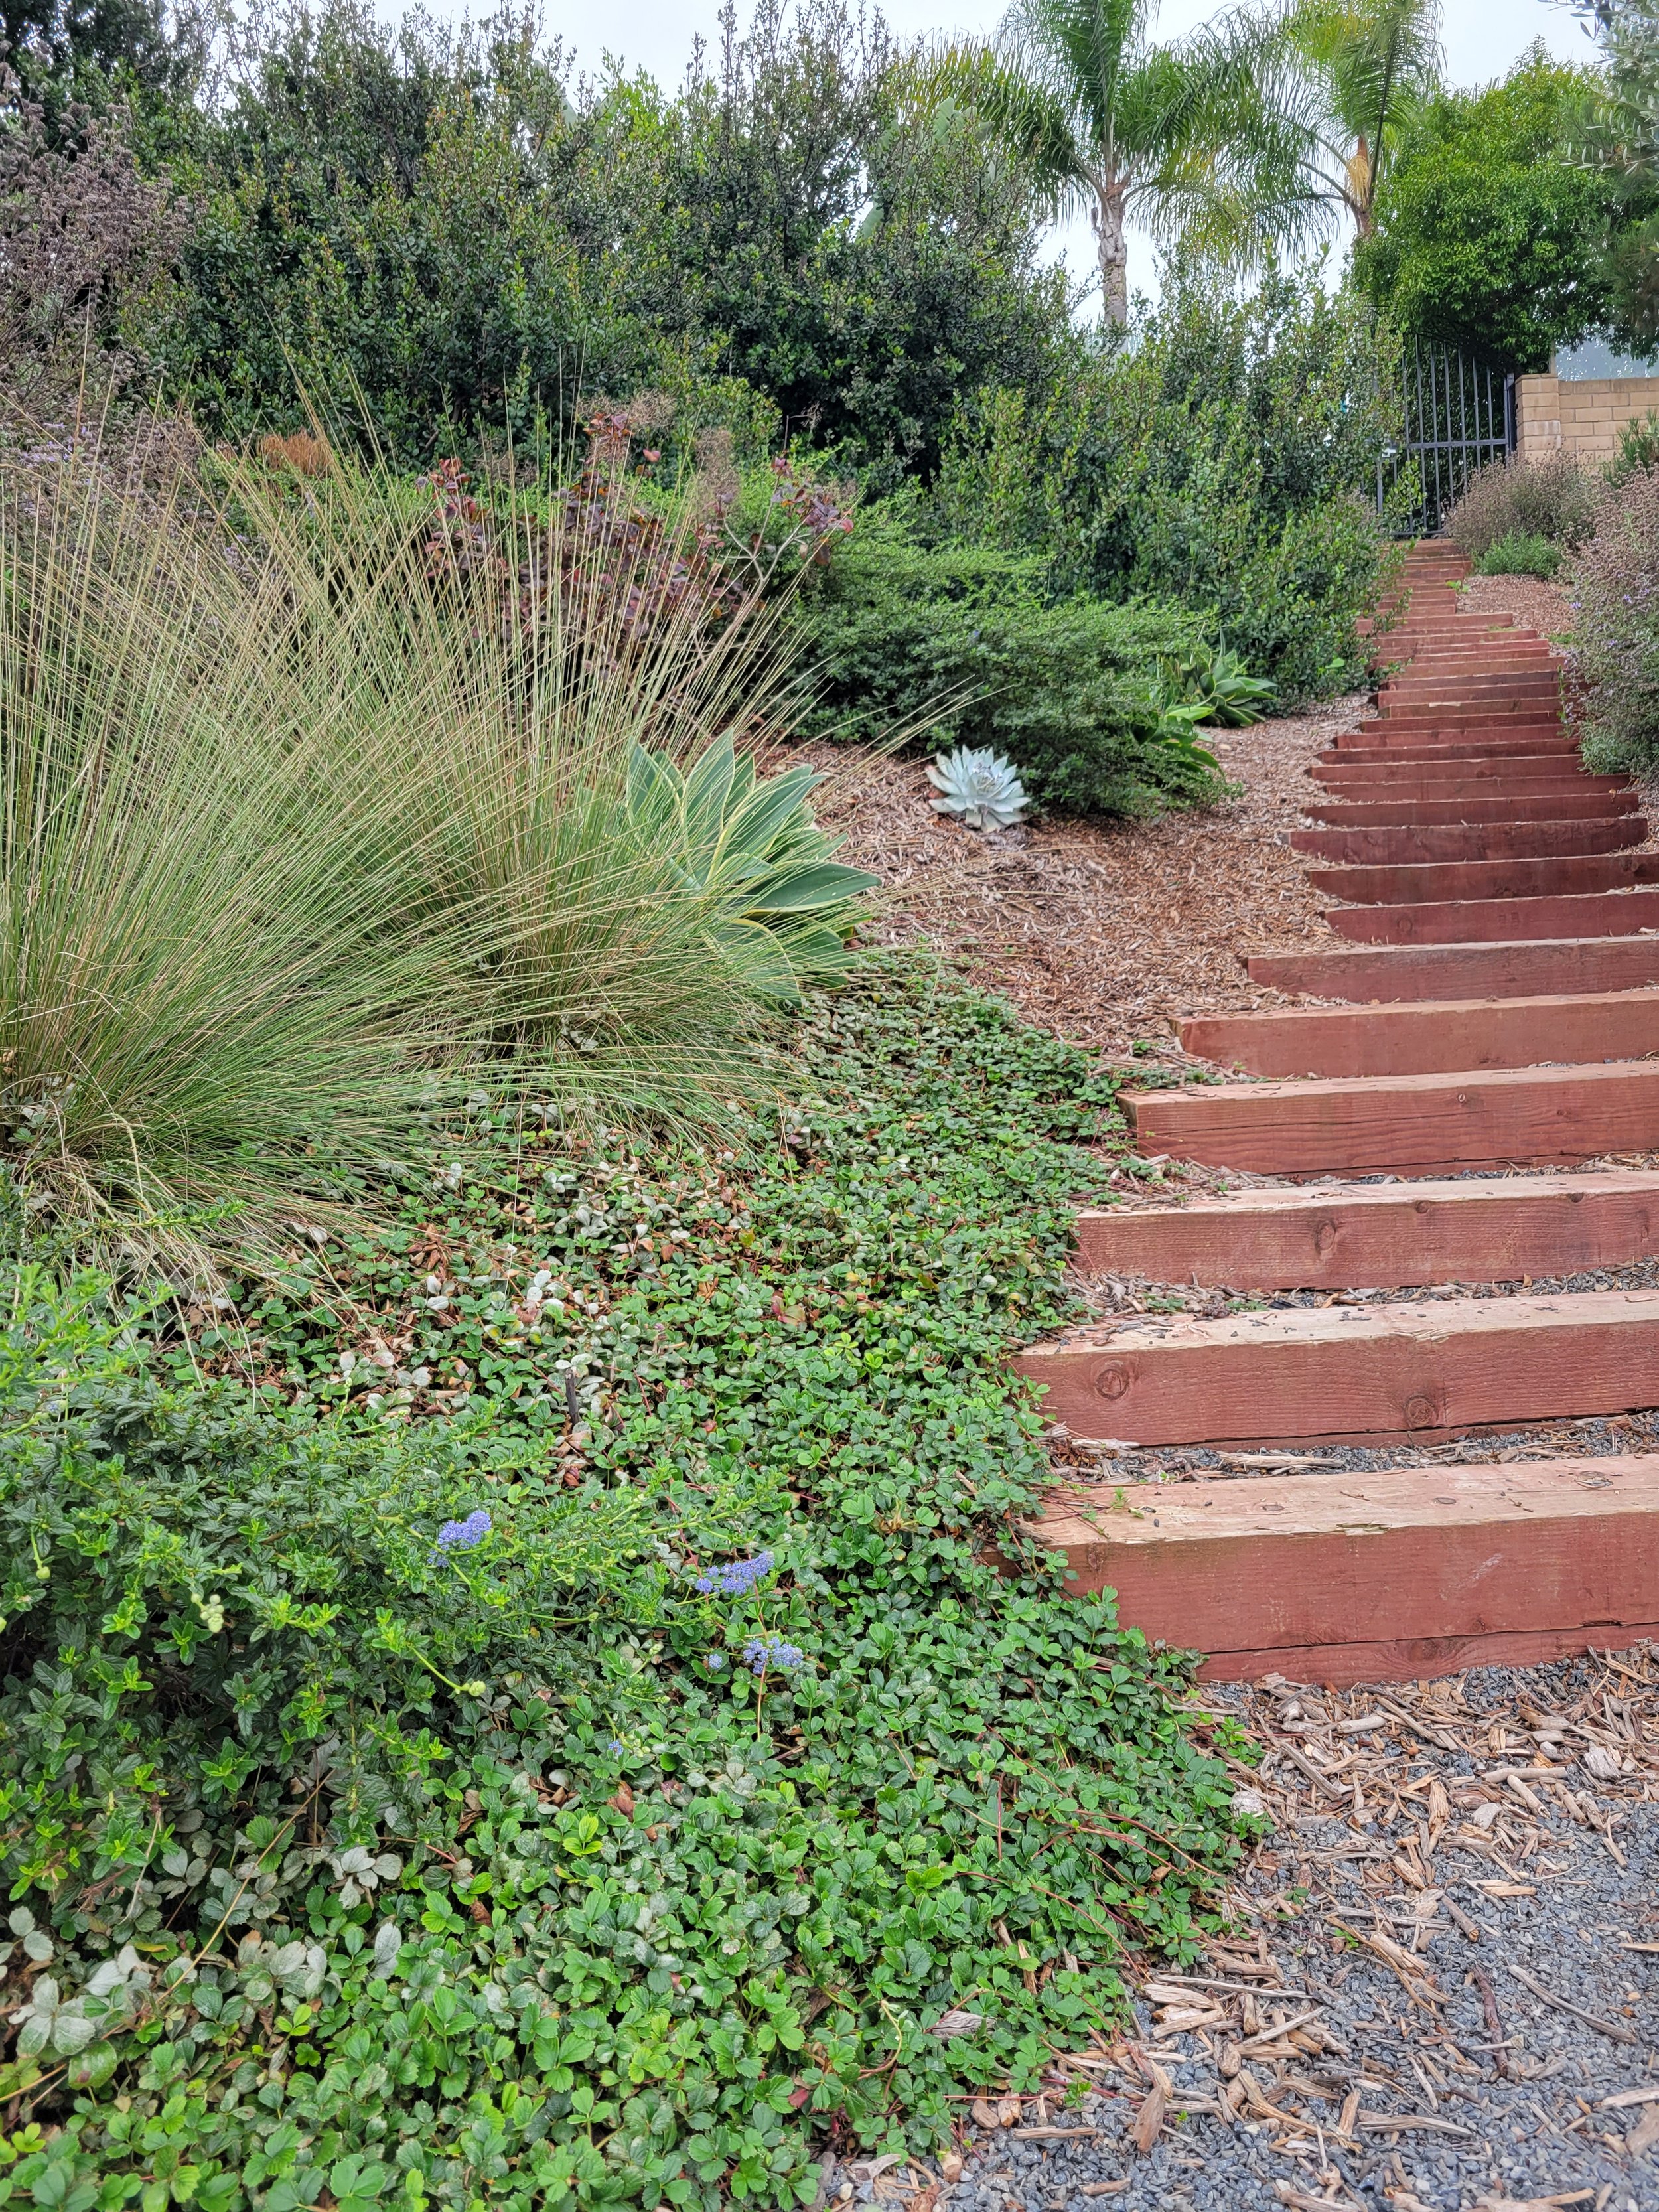
Photo Credit: Cameron YacklyIt can be helpful to gather some inspiration from native landscapes near you. Where you take inspiration from will depend on your specific goals and desired aesthetic.
Keep in mind that native plants look different depending on the season. Late winter/spring is often considered the prime time, especially for wildflower viewing. Many native plants are lush and in bloom during this time.
Wild Inspiration: Visit Local Nature Areas
Spend time in local nature preserves where native plants grow. Observe how they look in their natural habitat, how they group together, and their blooming cycles. Some research about plant communities (i.e. coastal sage scrub, chapparal, oak woodland, etc.) can help you choose appropriate and compatible combinations of native plants for your area.
Design Inspiration: Tour Native Plant Gardens
Visit gardens that specifically feature native plants. Many botanical gardens and universities have sections dedicated to native species. Attend your local California Native Plant Society chapter's annual Native Garden Tour. These visits can provide real-life examples of how native plants can be used in landscaping.
PHASE 2
Site Analysis
STEP 1
Determine Sun Exposure
How many hours of sunlight does the area receive?
You can create a sun map by observing your site several different times throughout the day and taking photos of the shadows.
Create a simple map of your site and label areas as:
Full sun (6+ hours of direct sunlight)
Partial sun/shade (3-6 hours of direct sunlight)
Full shade (less than 3 hours of direct sunlight)
Remember that the angle of the sun changes with the seasons so areas that are sunny in the summer might be shaded in the winter.
How is the site oriented? (north, south, east, west)
Plants on the north side of a house receive less sunlight and heat. Shade tolerant species are more ideal here.
Plants on the south side of a house get more sunlight, leading to hotter, drier conditions in summer and warmer ones in winter. Opt for full-sun species in these areas.
Similarly, if there are slopes in your site, it’s helpful to note that south facing slopes receive more sun exposure than north face slopes.
Determine Soil Drainage
STEP 2
Drainage is one of the most important factors to consider with native plants. While most native plants are adaptable to a variety of soil types, many California native plants hate having “wet feet”, or having their roots in waterlogged soil. Prolonged standing water can cause root rot or suffocation by blocking oxygen from reaching the roots. These plants need to be planted in fast draining sandy or loamy soils. They can be planted in slow draining clay soils as long as they are on a slope.
How fast does the soil drain?
Dig a Hole: Select a representative spot in your garden and dig a hole about 12 inches deep and 12 inches wide.
Fill with Water: Initially, fill the hole with water and allow it to drain completely. This step helps saturate the surrounding soil and gives a more accurate reading in the actual test.
Refill and Time the Drainage: After the first batch of water has drained, fill the hole with water again. This time, measure how long it takes for the water to drain completely.
Interpreting the Results:
Fast Draining (Less than 15 minutes): This usually indicates sandy soil. Sandy soil has larger particles, allowing water to drain quickly.
Moderate Draining (15 minutes to 1 hour): This suggests loamy soil, which has a more balanced mixture of sand, silt, and clay.
Slow Draining (More than 1 hour): This typically means clay soil. Clay has very fine particles that hold water, causing slower drainage.
If your garden is large, consider performing this test in multiple locations. Soil texture can vary across different areas of a garden. Be aware that the results can be influenced by various factors, such as recent rainfall, soil compaction, and organic matter content. The test gives a general idea but might not be scientifically precise.
Where does water naturally flow or collect?
Next time there is a big rain event, it could be helpful to go outside and view the natural course of the water. Perhaps you notice that your gutters release a lot of water into one area or you notice that most of the rain water exits your property through a slope. You can look into methods for harvesting this rainwater such as creating swales, using a rain barrel, or installing permeable paving.
Determine Water Availability
STEP 3
Does your site have irrigation access?
During Establishment
Although many native species have low water requirements, young native plants still require regular watering during their establishment period. Since they are still developing their roots, plan on providing deep infrequent soaks (unless receiving sufficient rain) to encourage the development of deep root systems.
After Establishment
Many native plants can thrive on just rainfall once established, but for a lusher appearance and longer blooms, some supplemental watering is beneficial, especially during the dry summer periods.
What kind of irrigation?
Generally the most effective approach is to replicate natural conditions for native plants, which are accustomed to overhead water sources like rain, snow, or fog. This means using hand watering, overhead sprinklers, or misters. Drip irrigation is usually not ideal as
California native plants generally don't thrive in soils that are constantly saturated around their base.
Other Considerations
How will people interact with the garden?
Consider paths, seating areas, and views. Also, think about maintenance needs and accessibility for those tasks.
Are there any microclimates within the site?
Plants near concrete such as driveways and patios experience increased radiated heat, potentially creating a more desert-like environment.
Are there any natural resources within your site that you can use in your design?
For examples, rocks that can be gathered to create a bioswale or a large boulder that can be used as a focal point in the garden.
Are there any local regulations or homeowners' association rules that might impact garden design?
PHASE 3
Plant Selection
Create Zones
STEP 1
Group plants together according to their sun, water, and drainage requirements.
For example, species that prefer fast draining soil and full sun could be planted together on the top of a south facing slope. While moisture loving plants could be planted closer to a water source or bioswale that collects rainwater.
Summer Dry
Keep in mind that some species will not tolerate any summer watering such ceanothus and manzanita. Group these species together or plant them in an area where you can keep them separate from plants that will be watered during the summer.
You can use the filter function in our plant database to sort plants by sun and drainage requirements in addition to other criteria.
Start with Foundation Plants
STEP 2
Fragaria chiloensis (Beach Strawberry) used as an evergreen ground cover.The key to year round beauty is a foundation of evergreen plants, ensuring that your garden retains visual interest even when other plants are not in bloom or have lost their foliage.
A common mistake is only planting species that look colorful and enticing in spring, yet come autumn they have all gone dormant. California's native plant diversity offers options for all seasons. With some thoughtful planning, your native garden can look abundant and interesting throughout the year.
Mix Evergreens
Choose a variety of native evergreen shrubs, trees, and groundcovers. Mix textures, heights, and shades of green to add depth and interest to the garden landscape.
Plan for Growth and Spread
Take into account the mature sizes of the species you select and how they will appear in five to ten years.
As saplings develop into large trees, their shade changes the habitat around them. Similarly, if you plan on having a large shade tree, you won’t be able to plant shade loving species around it until that tree is actually mature enough to be casting shade.
You can use the filter function in our plant database to search for evergreen trees, shrubs, groundcovers, and more. Learn more about native dormancy in our dormancy guide.
Fill in the Gaps
STEP 3
Zeltnera venusta (Charming Centaury), often available in our online seed store.Once you have your foundation of evergreens, you can fill in the gaps with other species.
Wildflowers and Annuals
Sow native wildflower seeds to bring bursts of color. These can be particularly spectacular in the spring and can attract beneficial pollinators. See our online native seed store.
Deciduous Plants
Deciduous shrubs and trees add a dynamic element, changing with the seasons. Vitis 'Roger's Red' (Roger's Red Grape) is a deciduous vine known for its vivid red foliage in fall. Ideal for arbors, it offers summer shade with its lush leaves, but still permits sunlight through in winter after it drops its leaves.
Grasses
Add movement and an interesting texture contrast with a native grass such as Muhlenbergia rigens (Deergrass).
You can use the filter function in our plant database to search by plant type. See what wildflower seeds we have in stock in our online store.
Once you have your plant list you can check our wholesale availability or retail availability.
Plant Lists
-

Native Landscape Favorites
We’ve compiled a list of 50 of our top picks for hardy natives to use in landscaping and gardens.
-

Native Plants for Habitat Restoration
Our list of native plant communities found in Southern California and the plants that define them.
-

Native Alternatives to Conventional Landscaping Plants
Our picks for conventional landscaping alternatives.


